When you think about pumpkin carving, it’s easy to get swept up in the nostalgia of Halloween traditions, but there’s so much more to it than just the basics. You’ll want to start with selecting the right pumpkin and gathering essential tools, but what if you could take your designs to the next level? Whether you’re working with kids or looking for intricate ideas that showcase your artistic flair, there are plenty of creative paths to explore. Let’s unpack some innovative techniques and unique design concepts that can elevate your pumpkin carving experience this season.

Main Points
- Choose a firm, blemish-free pumpkin for easier carving and longer-lasting results.
- Use a pumpkin carving kit for safe and effective carving, especially for children.
- Sketch designs with a marker before carving for clear guidance on intricate patterns.
- Incorporate stencils or use multiple pumpkins to create themed scenes for added creativity.
- Illuminate finished pumpkins with LED lights for a safe and striking display.
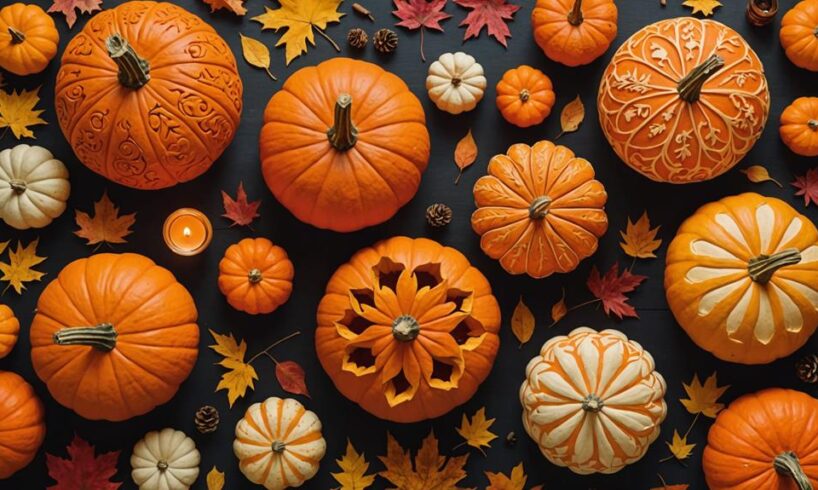
Choosing the Right Pumpkin
When it comes to choosing the right pumpkin, you’ll want to take into account a few key factors to guarantee your carving experience is a success. Start by selecting a pumpkin that’s firm and free of blemishes. A smooth surface will make it easier for you to carve intricate designs. Look for a pumpkin with a sturdy stem; this indicates freshness and supports the weight of your carving tools.
Next, consider the size and shape. If you’re aiming for detailed carvings, a medium-sized pumpkin with a round shape is a great choice, as it provides a good canvas without being too unwieldy. You’ll also want to check the pumpkin’s hollow interior. Give it a gentle shake; if you hear seeds rattling, it’s ripe and ready for carving.
Lastly, don’t forget about color. A vibrant orange pumpkin typically means it’s healthy and perfect for your project. If you’re planning to create a spooky design, consider darker shades too. With these tips, you’ll be well on your way to selecting the ideal pumpkin for a fun and memorable carving experience!

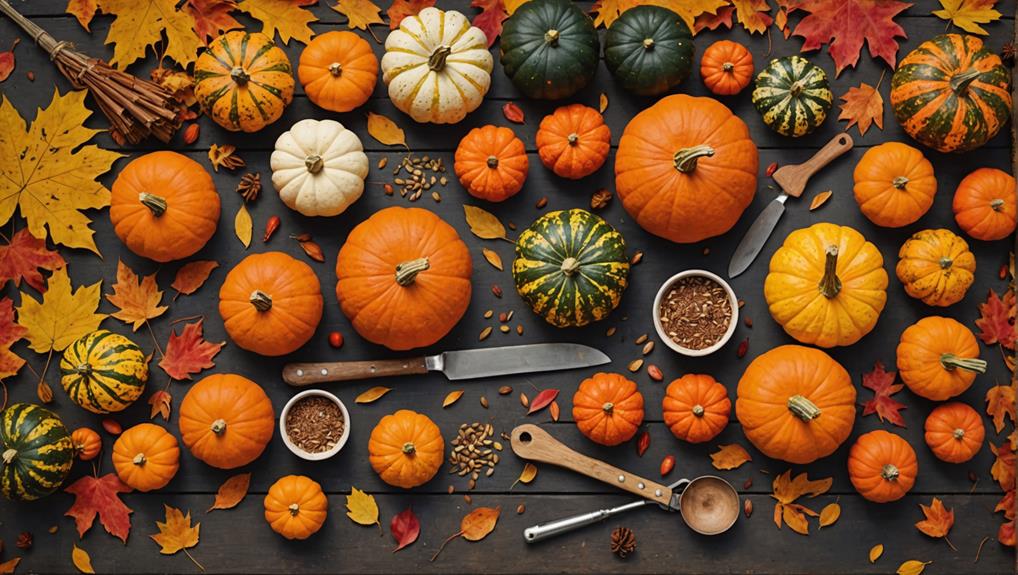
Essential Carving Tools
To carve your pumpkin like a pro, having the right tools is vital. Start with a sturdy pumpkin carving knife. These knives are specially designed with serrated edges, making it easier to slice through the tough pumpkin skin without risking injury. A scoop or large spoon is also important; it helps you remove the seeds and stringy insides efficiently.
Next, consider getting a small detail knife or a set of precision carving tools. These allow you to create intricate designs and fine details. You can find kits that include various blades, which can be invaluable for more complex patterns.
Don’t forget about a marker or pen for sketching your design on the pumpkin’s surface before you begin carving. This way, you’ll have a clear guide to follow. A saw is another handy tool for larger cuts or creating different shapes.
Lastly, a sturdy cutting board or a flat surface will provide stability while you work. With these vital tools in hand, you’re well on your way to crafting an impressive pumpkin masterpiece that’ll wow everyone! Happy carving!

Preparing Your Pumpkin
Preparing your pumpkin is an essential step in achieving the best carving results. Start by selecting a fresh, firm pumpkin, as it’ll be easier to carve and last longer. Once you have your pumpkin, it’s time to clean it. Rinse it under cool water to remove dirt and debris, ensuring you have a clean surface to work with.
Next, you’ll want to cut the top off to create a lid. Use a sharp knife to slice at an angle, so the lid doesn’t fall inside. After removing the lid, scoop out the seeds and stringy pulp using a large spoon or pumpkin scoop. Don’t rush this process; getting rid of all the insides makes carving much easier later on.
Consider smoothing the inner walls of your pumpkin with a scraper to create a flat surface for your design. This not only allows for cleaner cuts but also enhances the overall appearance of your carved masterpiece. Finally, give your pumpkin a good wipe down inside and out. With these steps complete, you’re all set to release your creativity and bring your pumpkin design to life!
Basic Carving Techniques
Now that your pumpkin is clean and ready, it’s time to explore basic carving techniques that will help you create stunning designs. Start by selecting a sharp, serrated knife for cutting the lid. This allows for smoother edges and less chance of slipping. Make a circular cut around the stem and gently lift off the lid.
Next, use a large spoon to scoop out the seeds and stringy innards, ensuring the inside is as clean as possible for your design to shine. For detailed designs, consider using a small, fine-tipped carving tool or a linoleum cutter for precision work.
When you sketch your design, you can use a marker or a pencil to outline it on the pumpkin’s surface. This gives you a clear guide while carving. Start with the smaller details first, as they require more finesse, then move on to larger areas.
Always carve away from yourself to avoid accidents. If you need to take breaks, keep your tools and pumpkin covered to maintain freshness. Following these techniques will set you up for a successful and enjoyable carving experience!
Fun and Unique Design Ideas
When it comes to pumpkin carving, thinking outside the box can lead to some truly fun and unique designs. Instead of sticking to traditional faces, consider creating a themed pumpkin that reflects your interests. For instance, if you love music, carve the silhouette of a guitar or musical notes swirling around the pumpkin.
Another idea is to use multiple pumpkins to create a scene. Stack small pumpkins to form a ghostly tower or arrange them to depict a spooky family of creatures. You could also dedicate a pumpkin to a favorite character from a movie or book, giving it quirky features that capture their personality.
For a more intricate approach, try using a stencil to create detailed designs like lace patterns or mandalas. You can even incorporate paint or glitter to add a splash of color and texture. If you’re feeling adventurous, try using a power drill to create a constellation of tiny holes, mimicking a starry night sky.
No matter which design you choose, remember to let your creativity shine. Embrace your imagination, and have fun making something truly one-of-a-kind!

Tips for Safe Carving
Carving pumpkins can be a blast, but safety should always come first. Before you start, gather the right tools. Use a pumpkin carving kit designed for safety, which usually includes small saws and scoops that are easier to handle. If you’re using a kitchen knife, choose a sturdy one with a blunt tip to minimize accidents.
Always carve in a well-lit area to see what you’re doing. It’s smart to work on a stable surface, so place your pumpkin on a cutting board or a towel to prevent slipping. Keep your hands and fingers away from the cutting edge while you carve; consider using a pumpkin carving glove for added protection.
If kids are involved, supervise them closely. Encourage them to draw their designs on the pumpkin first, and let them scoop out the insides. Leave the actual carving to the adults. If you’re feeling tired or distracted, take a break—there’s no rush.
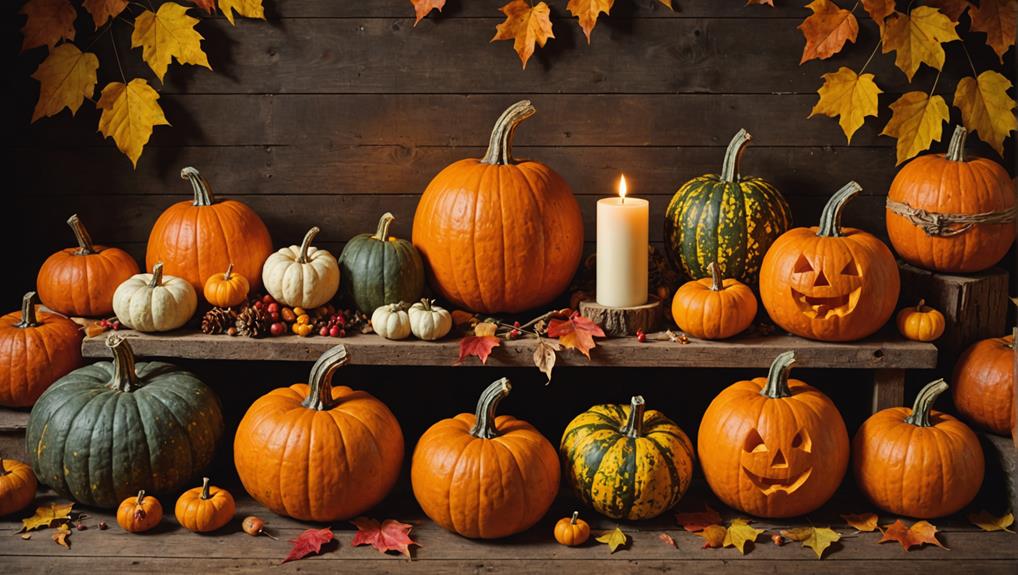
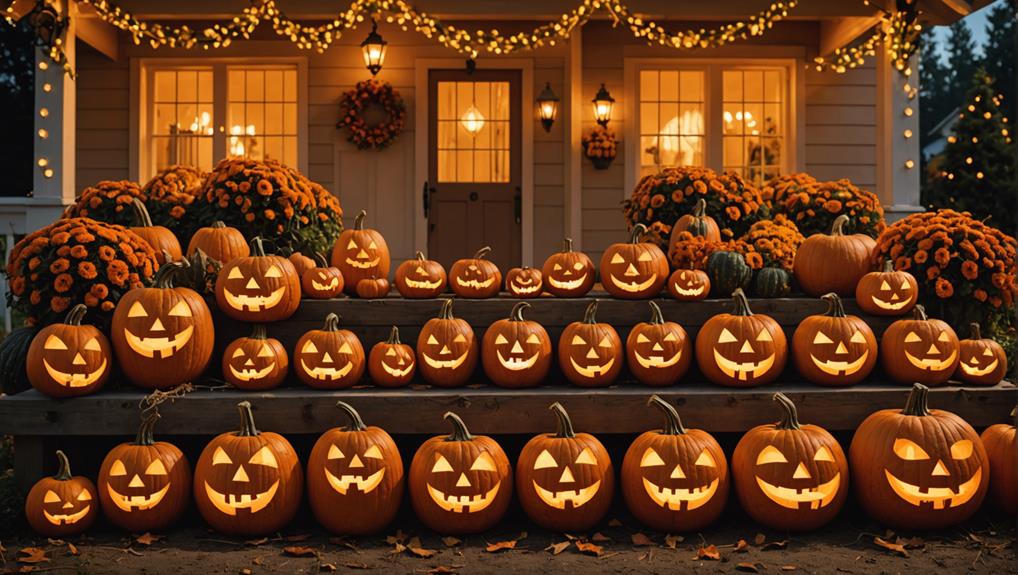
Displaying Your Finished Pumpkin
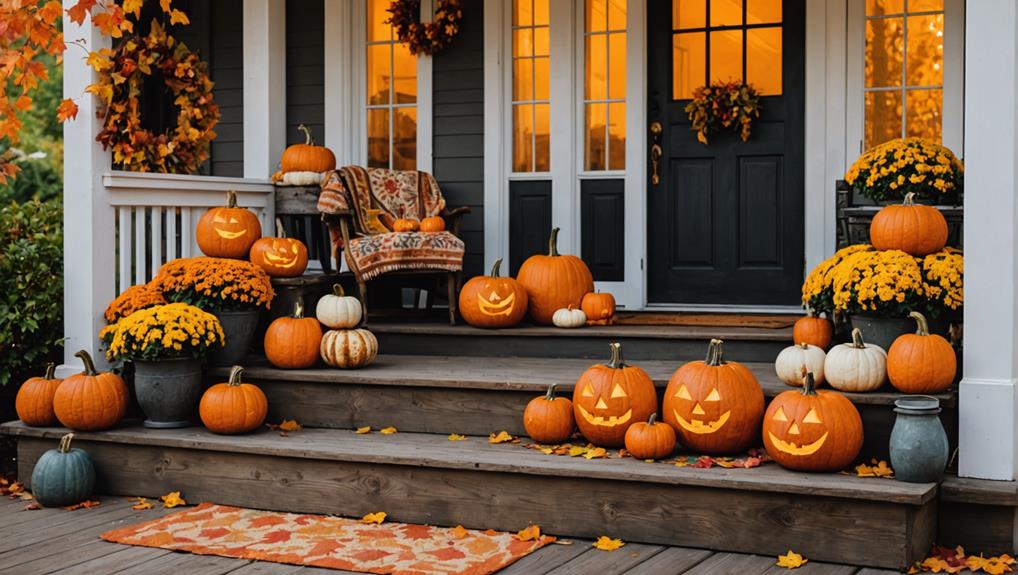
After putting in the effort to carve your pumpkin, it’s time to show off your creation. First, consider where you want to display it. A porch or front entryway is an excellent choice, as it allows neighbors and passersby to admire your work. If you’re showcasing your pumpkin indoors, make certain to place it on a sturdy table or shelf, away from high traffic areas to prevent accidents.
Lighting is essential for making your design stand out. If your pumpkin has a face, try placing a small LED light inside. This not only illuminates your masterpiece but also guarantees safety, as real candles can pose a fire risk. If you’re using multiple pumpkins, arrange them in a cluster for a more eye-catching display.
Don’t forget to protect your pumpkin from the elements. If it’s outside, consider using a spray sealant to help it last longer against rain and wind. Finally, be ready to share your creative process on social media! Snap some photos and let your friends and family see the impressive result of your hard work. Happy displaying!
Read The Next Blog Post – Spooky Outdoor Halloween Decorating Ideas to Impress the Neighbors
Now that you’ve chosen the perfect pumpkin, gathered your tools, and released your creativity, it’s time to enjoy the rewards of your hard work. Embrace the joy of carving, celebrate your unique designs, and showcase your creations with pride. Whether you stick to classic faces, explore intricate patterns, or add a splash of color, the possibilities are endless. So, gather your friends and family, plunge into the fun, and make this pumpkin carving season unforgettable!